TechieYan Technologies

Deep learning based dog breed identification using Convolutional Neural Networks

Abstract

Convolutional Neural Networks are being increasingly used to perform classification. Here we used dataset available on kaggle containing images of different dog breeds, train the model using transfer learning and get good accuracy. We also can detect if there are humans in the image as we included face classifier haar cascade to achieve the purpose. 

Algorithm Description

The datasets are provided by Udacity i.e. dog images for training the models and human faces for detector. After going through them,, we see that there are:

  1. There are 133 total dog categories.
  2. There are 8351 total dog images.
  3. There are 6680 training dog images.
  4. There are 835 validation dog images.
  5. There are 836 test dog images.
  6. There are in total 13233 human images.

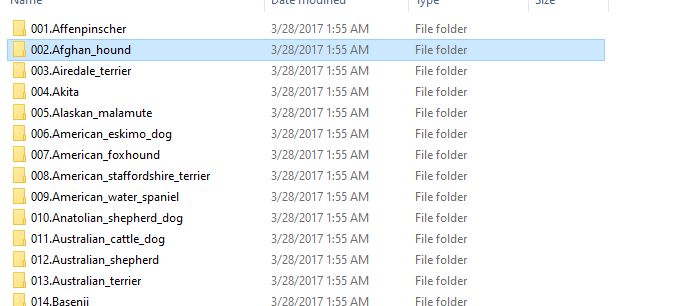
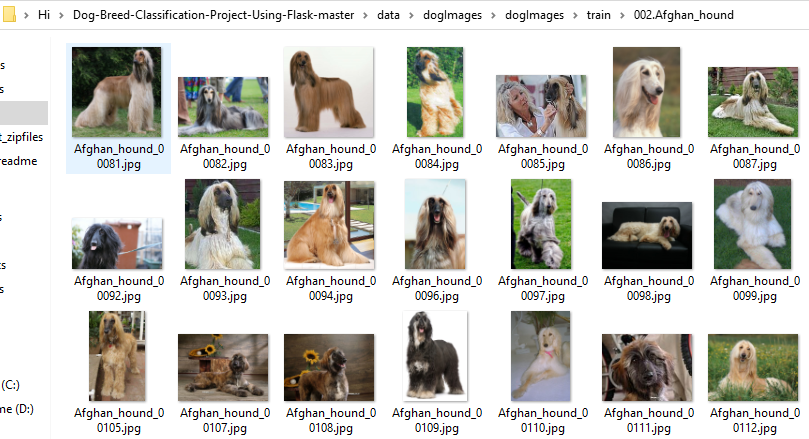
The dataset has been split into train, test, val folders containing sub folders of various dog breeds along with their images.

dog breed data set

dog breed file photo

How to Execute?

Make sure you have checked the add to path tick boxes while installing python, anaconda.

Refer to this link, if you are just starting and want to know how to install anaconda.

If you already have anaconda and want to check on how to create anaconda environment, refer to this article set up jupyter notebook. You can skip the article if you have knowledge of installing anaconda, setting up environment and installing requirements.txt

 
  1. Install necessary libraries from requirements.txt file provided.

execution program

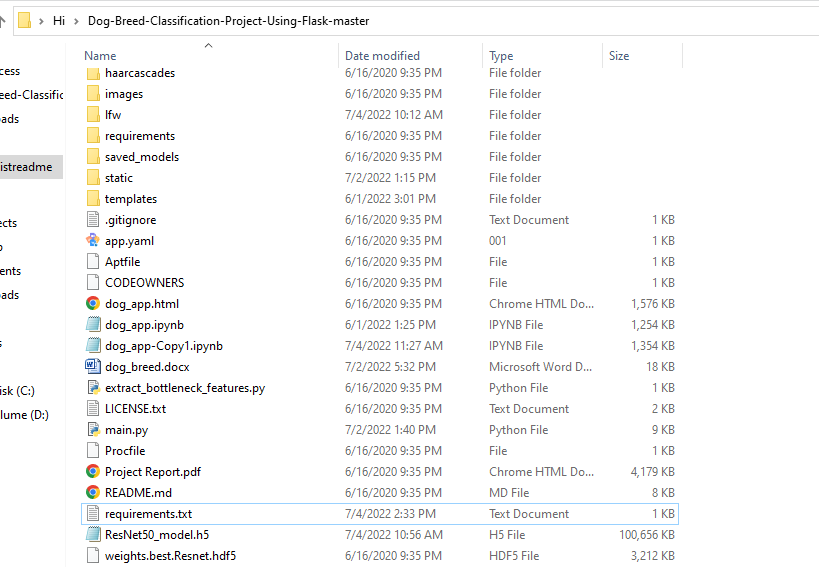
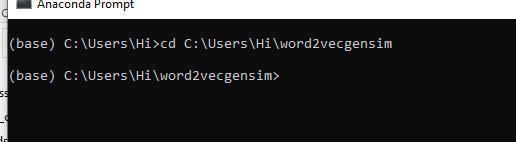
  1. Go to the directory where your requirement.txt file is present.

e.g. cd C:\Users\Hi\FR, this is just  an example. Set appropriate path as in your computer.

execution set 2


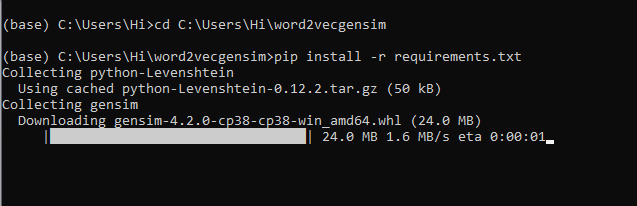
  1. Run command pip install -r requirements.txtor conda install requirements.txt (Requirements.txt is a text file consisting of all the necessary libraries required for executing this python file. If it gives any error while installing libraries, you might need to install them individually.)

data set 3

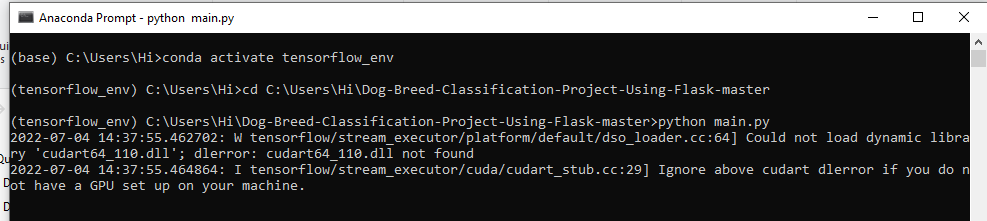
All the necessary files will get downloaded. To run the code, open anaconda prompt. Go to virtual environment if created or operate from the base itself.

Type cd path-to-project-file and then “python main.py”. All the steps are shown in the image below.

python main.py

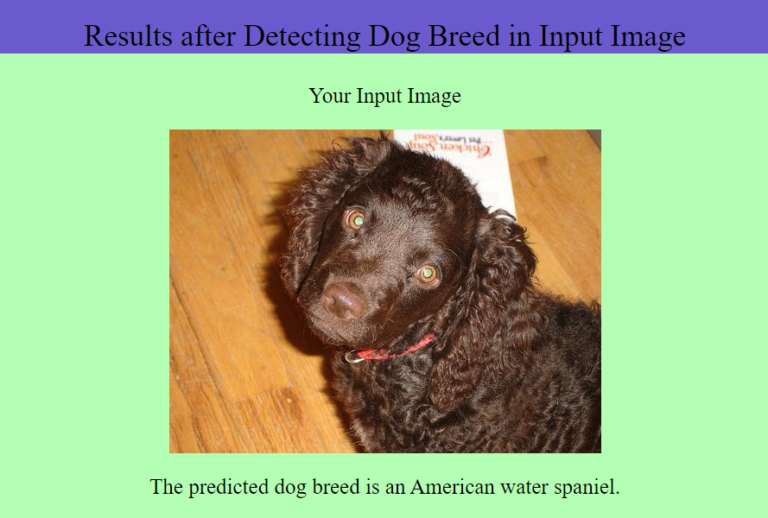
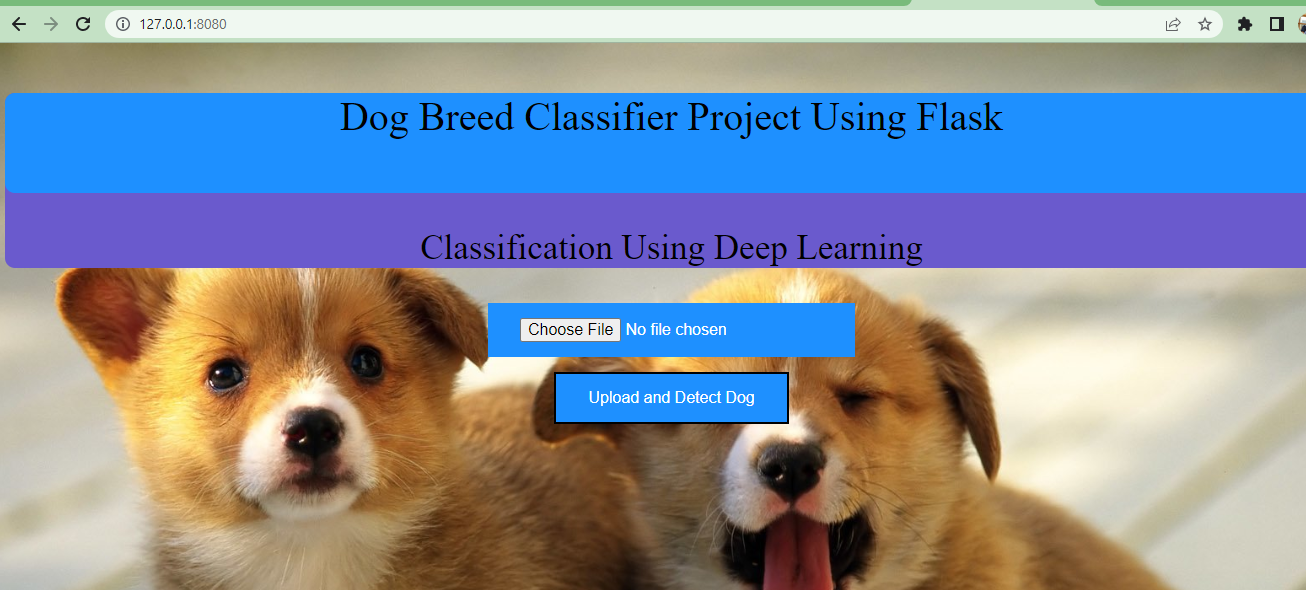
When you run the main.py file, you get a link.

main.py file

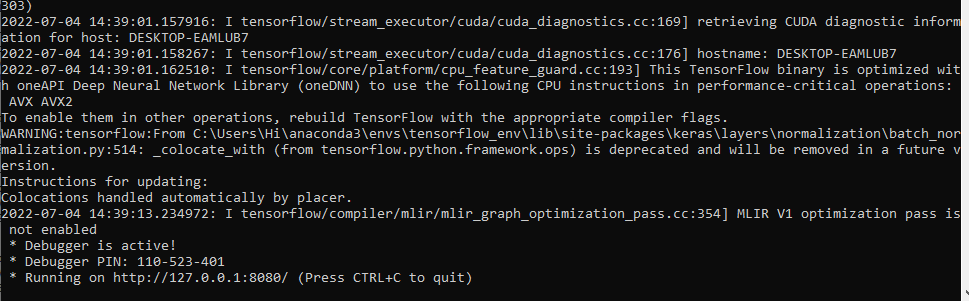
Copy and paste the link to get the results.

http://127.0.0.1:8080/ Note: Link can be different on your computer.

Data Description

Pre trained ResNet50 model :

  • This architechture contains (conv1)as first convolutional layer containing in channels as 3 which is due to RGB input tensor , (bn1) as batch normalization layer, followed by ReLU and MaxPooling and then it contains 4 main layers named layer1layer2layer3 and layer4 which contains further sub layers of convolution followed by batchnorm followed by relu followed by maxpooling , and then finally fc.
  • ReLUactivation is used as it’s the most proven activation function for classification problems as it introduces good and right amount of non linearity with less chances of vanishing gradient problem !
  • Batch normalizationhelped in making the network more stable and learning faster thereby faster convergence.
  • Maxpoolinghelped in downsampling high number of parameters created by producing higher dimensional feature maps after convolution operation and thus selecting only relevant features from the high dimensioned feature matrix.
  • Then i replaced last layer of this architecture by fully connected layer containing two sub linear layers as follows : Linear(in_features=2048, out_features=512) Linear(in_features=512, out_features=133)
    with ReLU activations between the linears.

To read more about ResNet 50 check this link, https://towardsdatascience.com/understanding-and-coding-a-resnet-in-keras-446d7ff84d33

Final Results

Upload any dog image from your computer and it will generate the output (predict the breed).

predict the breed
predict the breed 2

In the code we are using a pre-trained model to get the results. To try to build your own classifier you can refer to the notebooks provided in the code and update them to build your own classifier. A skeleton has been provided.

Issues you may face while executing the code

  1. Go to the current working directory (path of your project) to run main.py
  2. Ensure you have all libraries installed.
  3. Give correct paths to images wherever necessary.
  4. You might get error based on input shape, try changing the image to the required shape to get the project working.

Credit to https://github.com/prateeksawhney97/Dog-Breed-Classification-Project-Using-Flask github repository for the code. I just updated the code a bit/resolved the errors. You can view this page for more details.

Click Here For The Source Code And Associated Files.

+91 7075575787