

Make sure you have checked the add to path tick boxes while installing python, anaconda.
Refer to this link, if you are just starting and want to know how to install anaconda.
If you already have anaconda and want to check on how to create anaconda environment, refer to this article set up jupyter notebook. You can skip the article if you have knowledge of installing anaconda, setting up environment and installing requirements.txt
- Install the prerequisites/software’s required to execute the code from reading the above blog which is provided in the link above.
- Press windows key and type in anaconda prompt a terminal opens up.
- Before executing the code, we need to create a specific environment which allows us to install the required libraries necessary for our project.
- Type conda create -name “env_name”, e.g.: conda create -name project_1
- Type conda activate “env_name, e.g.: conda activate project_1
- Go to the directory where your requirement.txt file is present.
- cd <>. E.g., If my file is in d drive, then
- d:
7.cd d:\License-Plate-Recognition–main #CHANGE PATH AS PER YOUR PROJECT, THIS IS JUST AN EXAMPLE
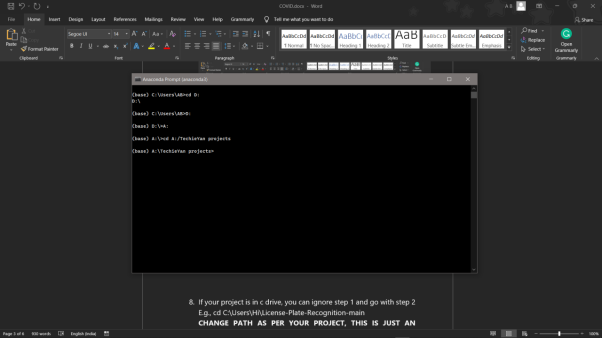
8. If your project is in c drive, you can ignore step 5 and go with step 6
9. g., cd C:\Users\Hi\License-Plate-Recognition-main
10. CHANGE PATH AS PER YOUR PROJECT, THIS IS JUST AN EXAMPLE
11. Run pip install -r requirements.txt or conda install requirements.txt (Requirements.txt is a text file consisting of all the necessary libraries required for executing this python file. If it gives any error while installing libraries, you might need to install them individually.)

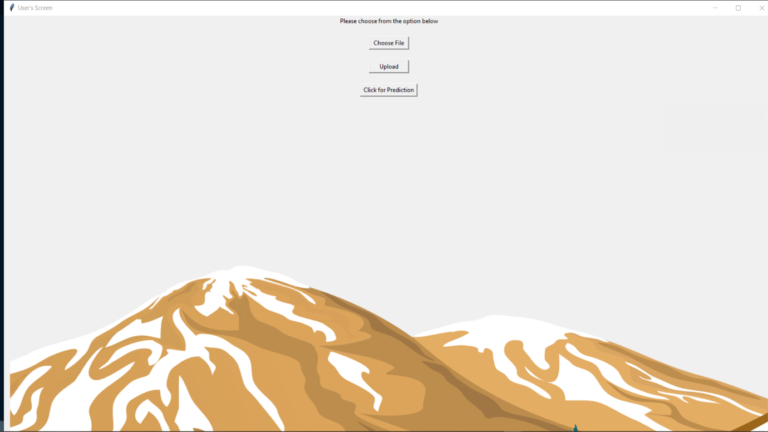
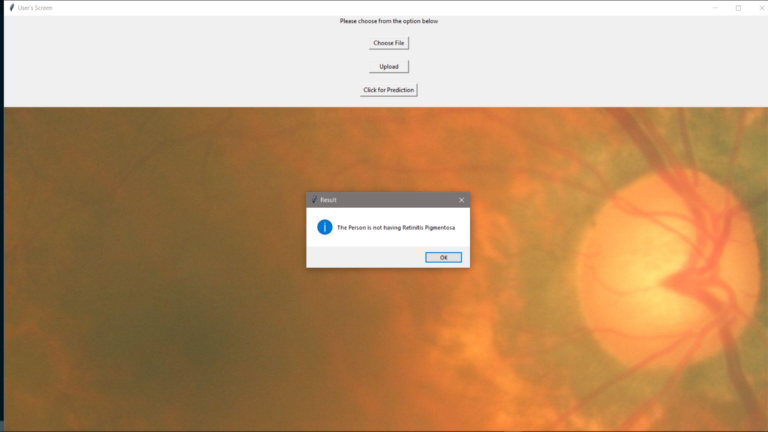
12. To run .py file make sure you are in the anaconda terminal with the anaconda path being set as your executable file/folder is being saved. Then type python main.pyin the terminal, before running open the main.py and make sure to change the path of the dataset.
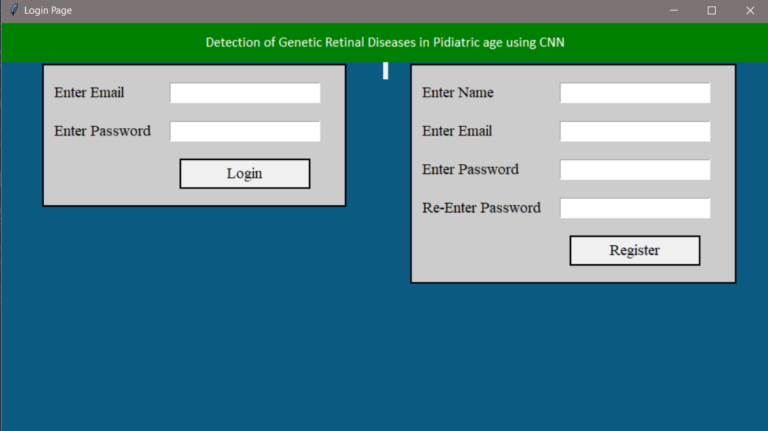
(Please refer to the output images to understand how to login, On the right we have a registration box and on the left we have Login Box)
13. If you would like to run .ipynb file, Please follow the link to setup and open jupyter notebook, You will be redirected to the local server there you can select which ever .ipynb file you’d like to run and click on it and execute each cell one by one by pressing shift+enter.
Please follow the above links on how to install and set up anaconda environment to execute files.
The dataset was downloaded from a private data repository which might not be available now. The dataset is divided into train and test sets, where each folder is again divided into negative and positive folders, where thee training_negative consists of 386 images and training_positive consists of 134 images, similarly test_negative consists of 96 images and test_positive consists of 34 images. Shape of all the images is equally scaled about 3072 x 2048.
Negative

Positive

Evaluation metrics are considered as one of the most important steps in any machine learning and deep learning projects, where it will allow us to evaluate how good our model is performing on the new data or on unseen data. There are a lot of evaluation metrics which can be used in order to assess how good our model is performing, in our case, since we are dealing with binary classification and neural network, we are going to sue binary_cross_entropy/log_loss, which basically compares the actual class with the predicted probabilities and then it calculates a corrected probability by subtracting it with the probability of a datapoint belonging to class1 with the predicted probability, i.e. for the case of ID8 it is actually class 0, but the probability is of class 1 is 0.56, so we subtract (1 – 0.56), we get 0.44 that is our corrected probability. Then Log_loss is calculated by applying log transformation on each of the calculated_probablities. The the average of the negative corrected_probablities are taken which will gives us the log_loss/binary_cross_entropy, the lower the value the better our model is performing.
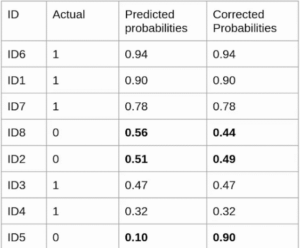
Log_loss calculation for corrected_probablities
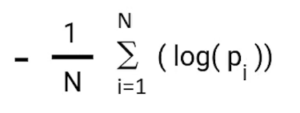
Log_Loss formula without calculating corrected_probablities
![]()
Reference: