
Let us talk about what is an environment and why do we need different environments. An environment contains a set of libraries required to execute our project. An environment contains a set of libraries required to execute our project.
We create new environment for a project in order to avoid version mismatches. For e.g. in your project 1 you had used “tf_env” which had tensorflow 2.4 and keras 2.4, but in your current project you will have to use tensorflow 2.6 and keras 2.6. If you continue your project in “tf_env” environment there will be a version mismatch and you will have to update tensorflow and keras but this will cause problems in executing the previous project. To avoid this, we create a new environment and have tensorflow 2.6 and keras 2.6 and continue with our project.
Let us now see how to create an environment in anaconda.
- Type “conda create –n <<name_of_your_env>>”
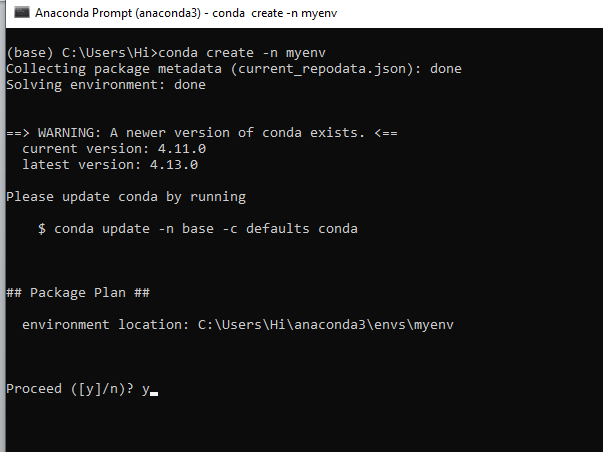
It will ask to proceed with the environment location, type ‘y’ and press enter.
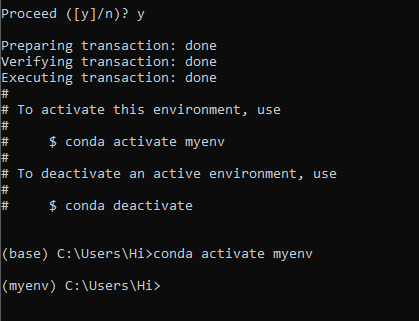
When you press ‘y’, the environment will be created. To activate your environment type conda activate <<your_env_name>> . E.g. conda activate myenv.
You can see that the environment got changed after conda activate myenv line. It changed from “base” to “myenv” which means you are now working in “myenv” environment.
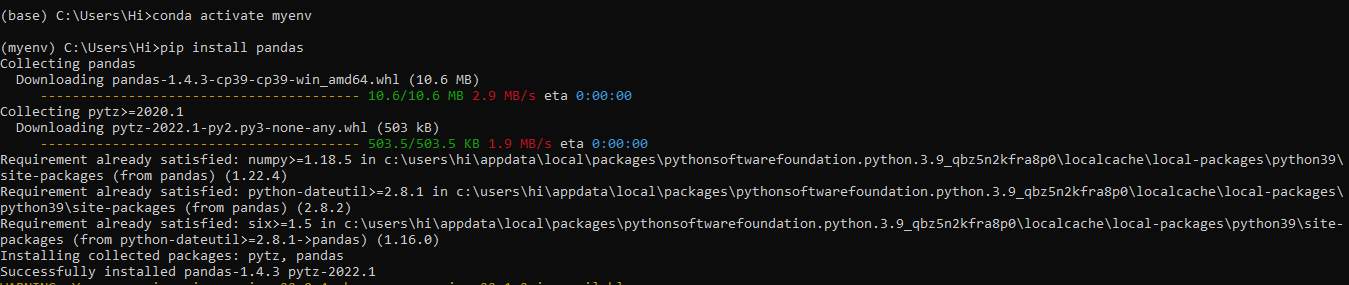
To install a library in your virtual environment type pip install <library_name>.
e.g. pip install pandas
To install requirements.txt file, goto the path where your requirements.txt file is present.
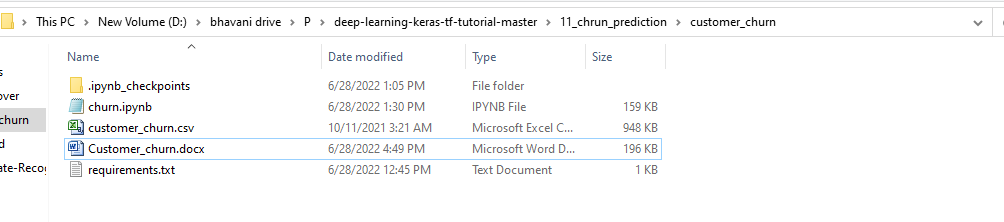
My requirements.txt file is present in D:\bhavani drive\P\deep-learning-keras-tf-tutorial-master\11_chrun_prediction\customer_churn
I go to that file path in anaconda using cd command
- Go to drive where your project file is.
- Go to the path of your project using cd <path>
- Type pip install –r requirements.txt
e.g. cd D:\bhavani drive\P\deep-learning-keras-tf-tutorial-master\11_chrun_prediction\customer_churn

And all your required libraries will be downloaded and you can start your project.
But, if you want to use jupyter notebook on the new environment you have to set it up for the new environment.

I tried starting jupyter notebook and go this error. “jupyter” is not recognized as an internal or external command.
So to set it we have 2 commands.
- conda install –c conda-forge jupyterlab
- conda install –c anaconda ipython
Now you are ready to use jupyter on this environment and start with your project!