Detecting custom objects in an image using YOLO V3
Abstract
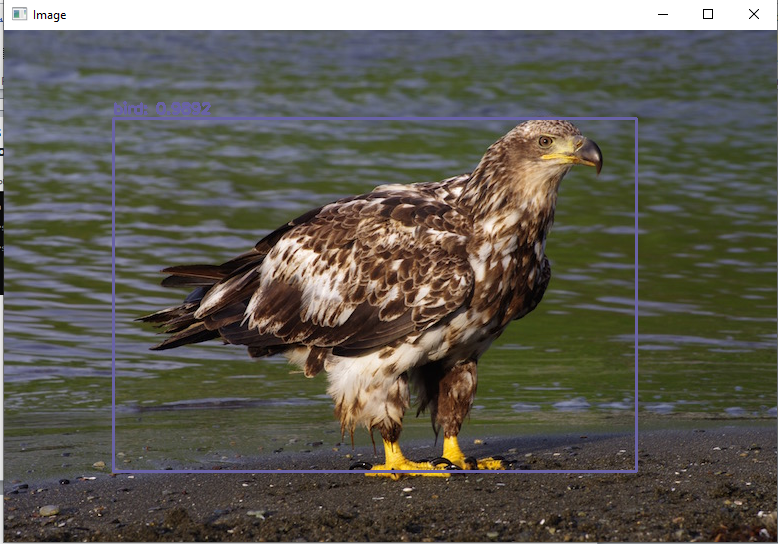
YOLO is the state of the art and industry used algorithm for object detection these days. This does the classification/detection by creating grids in the whole image and achieves high accuracy at a very good speed and in real time. We use a pre-trained model which has been trained on the COCO dataset and performs object detection which a very high degree of accuracy.
Code Description & Execution
Algorithm Description
YOLO is an abbreviation word for “You look only once”, where this algorithm has shaken most of the developers all around the world in the past 5 years, due to its immense ability to quickly learn and remember any object we have trained or labeled it. There is a unique method to work with Yolo models where we require the images to be labeled firstly using specific tools available online or installing it in your local machine. (Labeling software’s links are provided below). The labeling process might take a long time depending upon on your dataset. The images are labeled according to the specification made by the user, whether we’d like to detect multiple objects in an image are single object, depending on it, the text file is created with following parameters,
So, before execution we have some pre-requisites that we need to download or install i.e., anaconda environment, python and a code editor.
Anaconda: Anaconda is like a package of libraries and offers a great deal of information which allows a data engineer to create multiple environments and install required libraries easy and neat.
If you already have anaconda and want to check on how to create anaconda environment, refer to this article set up jupyter notebook. You can skip the article if you have knowledge of installing anaconda, setting up environment and installing requirements.txt
1. Install necessary libraries from requirements.txt file provided.
2. Go to the directory where your requirement.txt file is present.
CD<>. E.g,If my file is in d drive, then
CD D:
CD D:\License-Plate-Recognition-main #CHANGE PATH AS PER YOUR PROJECT, THIS IS JUST AN EXAMPLE
If your project is in c drive, you can ignore step 1 and go with step 2.
Eg. cd C:\Users\Hi\License-Plate-Recognition-main #CHANGE PATH AS PER YOUR PROJECT, THIS IS JUST AN EXAMPLE
3. Run command pip install -r requirements.txt or conda install requirements.txt
(Requirements.txt is a text file consisting of all the necessary libraries required for executing this python file. If it gives any error while installing libraries, you might need to install them individually.)
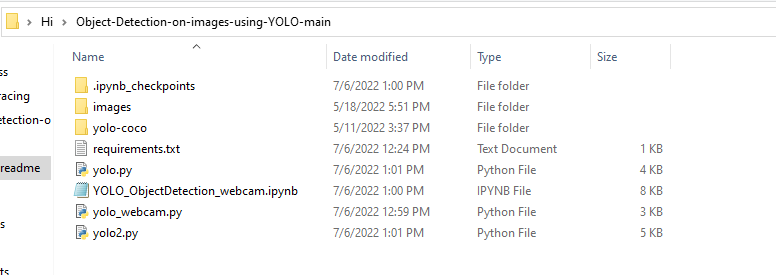
All the necessary files will get downloaded. To run the code, open anaconda prompt. Go to virtual environment if created or operate from the base itself and start jupyter notebook, open folder where your code is present.
yolo.py: To run this type python yolo.py –image images/eagle.jpg #change image as you wish, the image you want to perform detection upon should be in images sub-folder
Data Description
The dataset used to train the model is COCO dataset. It is a very large dataset for object detection and segmentation. It is the standard dataset to evaluate large scale object detection models. Here, it was trained on 80 classes which is mentioned in the coco.names file in the yolo-coco folder.
Screenshot of coco.names file describing on what objects was yolo trained on.
yolo_webcam.py: To run this type python yolo_webcam.py