TechieYan Technologies

Convert Image To A Pencil Sketch Using Python Project

Abstract

In Python, an image is just a two-dimensional array of integers. So one can do a couple of matrix manipulations using various python modules in order to get some very interesting effects. In order to convert the normal image to a sketch, we will change the original image of RGB values to gray scale image, in this way a sketch of the input image will be generated. There are processes in converting image into pencil sketch from duplicating layer to applying Gaussian blur filter all the steps are executed by the means of programming in Python language. This project will be fast, efficient and very useful to perform conversion. A small code that can convert an image to a pencil sketch. An image is basically an array of numbers to Python. So we can perform a variety of matrix manipulations to get some very interesting results. This code shows how to transform an image into a ‘pencil’ outline. The whole procedure is done by taking sample kernel/filter and this filter is applied to the entire image which is in the form of array. As you change the filter size and elements in it you can gradually see the change in the image.

Programming Methodology

  • The following steps to be followed :-

    1. Read the input image as gray scale image
    1. Remove any noise using a gaussian filter
    1. Create a negative image (invert the image)
    1. Dodge these two images (gray and inverted images). These two images reinforces some edges and complements some edges. Alternatively, these two images can be blended with different weights
    1. Show the image and wait for a keystroke to close the display

Code Description & Execution

How to Execute?


Step 1 :

You need to open the jupyter notebook in the path directory on the anaconda prompt shell.

In my case

GUI Application for Calendar execution code

         To perform the above step you already need to have knowledge of installing jupyter notebook and running anaconda shell, if you don’t know how to install or run jupyter notebook check our previous articles about it.

Step 2 :

Open   .ipynb file from the folder 


Step 3 : 

Install required libraries using command pip install (library_name) for example

pip install open-cv python

necessary libraries are ( open-cv python , matplotlib , numpy )

these libraries should be installed in an empty cell , to get it click on + symbol on the notebook.

Step 4 :

Now you need to run each cell individually by run command or by using shortcut key shift+enter

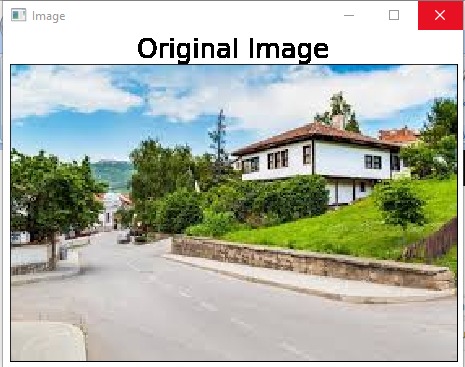
In the 3 and 4 cell you will see the original image like this

pencil sketch


Step 5:

In the end if a new pencil image
pop ups , you’re done else check the errors or try to read article properly to
avoid errors.

Output

 :pencil sketch


Issues you may face

  1.  While giving right path in the Anaconda prompt shell to open jupyter notebook in correct directory or opening the correct ipynp file.

Note:

All the required data has been provided over here. Please feel free to contact me for model weights and if you face any issues.

https://techieyantechnologies.com/contact/

Yes, you now have more knowledge than yesterday, Keep Going.

Click Here To Download This Code And Associated File.


+91 7075575787