Light-fidelity (Li-Fi) technology
Abstract
Light-fidelity (Li-Fi) technology is an optical wireless communication system used to transfer data. This system uses visible light to communicate. Through this technology, any type of data like : text, audio, video, images, etc can be transmitted and can be received. Because of its nature of connection(as it uses light to transmit & receive data and light cannot pass through walls ) Li-Fi is considered more secure than Wi-Fi(wireless fidelity). It also solves the problem of radio frequency congestion. Li-Fi could operate without interfering in some environments that are sensitive to electromagnetic fields, like aeroplanes and hospitals. It can also be used in densely populated areas, mobile communications, augmented reality, underwater data sharing, etc. The main objective of this project is to transmit and receive an image using Light-Fidelity technology in matlab.

Code Description & Execution
Algorithm Description
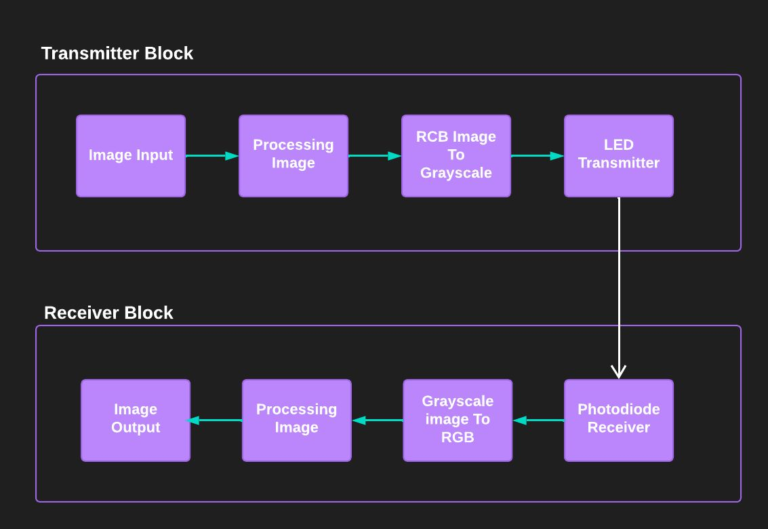
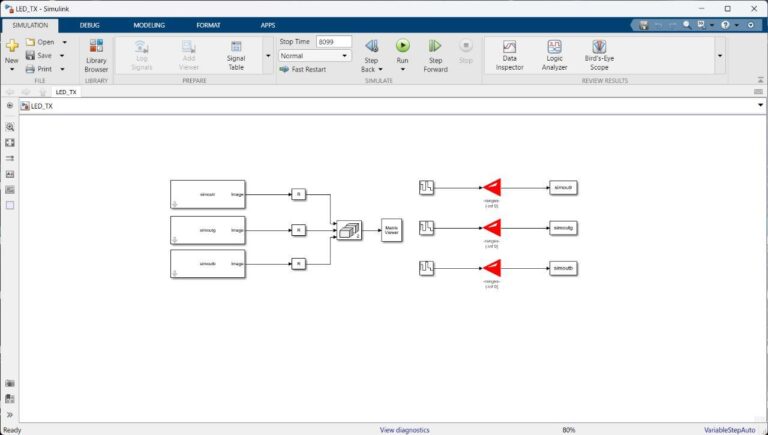
Block diagram of transmission and receiverance of the image using Li-Fi technology
- Read the image file as an input to the image Input block.
- Divide the images into their respective RGB images.
- Convert the RGB image into the respective grayscale form by removing the colour components in image
- Input the grayscale image to the LED block in Simulink and modulate the LED according to the image pixel values.
- Receive the transmitted image through the photodiode block.
- Convert the grayscale images back into their original RGB form.
- Join all the RGB frames back to form the original video Step
- Output the image and save it using MATLAB.
Code Description
There are six main codes for execution of project :
- image_array
- image_to_video.m
- img.m
- SimulinkLED_mSfcn4.m
- untitled.m
- videos_to_frames.m
Steps to Execute the Code
- Download and unzip the zip file
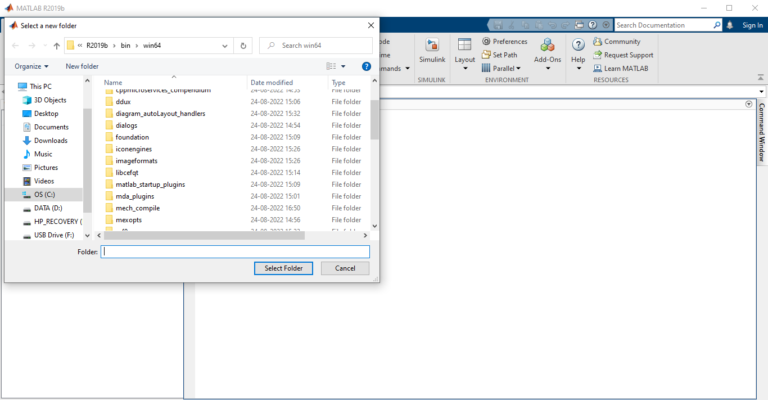
- Open matlab and click on the “browse for folder” icon.

3. A popup window will appear from which we can select the required folder
Add all .m files from the “current file” window
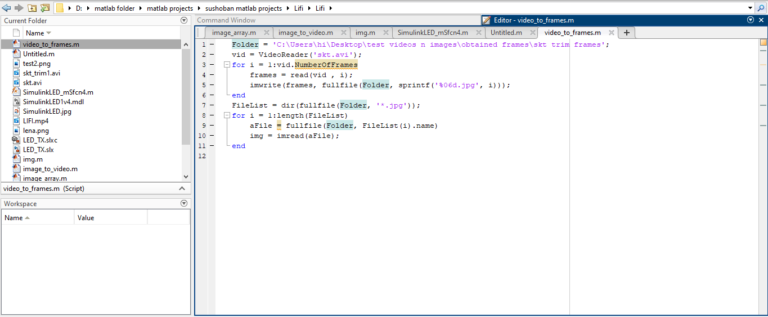
5. Run the code and get the desired output.
Result
The below is the transmitted image
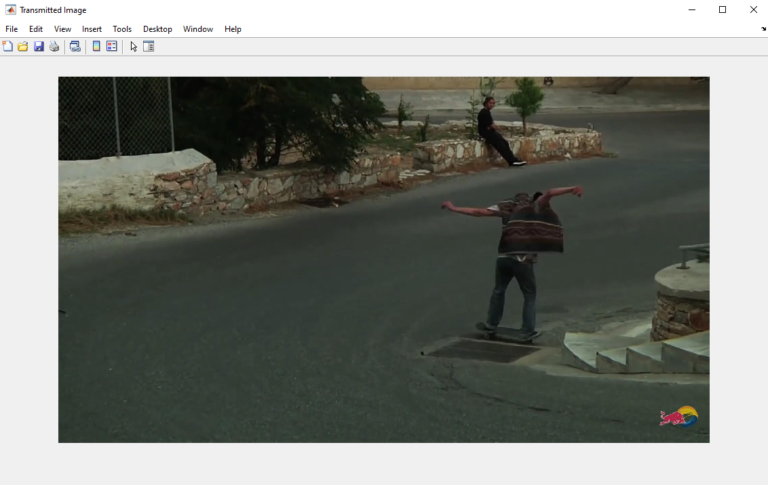
The below is the simulation block.
The below is the received image.
The above images will pop up when you run the image_array.m file

Issues Faced
- There might be version issue: because of version difference some functions name might have changed
- Download the required addons
- Add all the files to the script.
