As the name suggests micro means something small and a controller is something used to control the devices. The microcontroller consists of a microprocessor with memory and peripheral devices, associated with circuits to control the function of devices.
There are many real-time applications where the microcontroller is being applied in our day-to-day life like AC remote, remote controller toys, and Bus LED Display Board.
Microcontrollers are used to receive the information from the input devices and transmit the information to output devices.
There are different types of microcontrollers like Arduino nano, Arduino Uno, Arduino mega, Node-MCU, and many more.
To know whether a microcontroller is working fine or not, follow the steps given below:
CASE1: Verifying where Arduino nano is working or not
STEP1: Take Arduino nano and power it with you laptop using USB A to MINI B cable

Before uploading any code into a microcontroller, you should be careful with the selection of board and port from Arduino-IDE.
To dump the code follow the steps given below. Here we are uploading a MT code you can upload any code by following this steps).
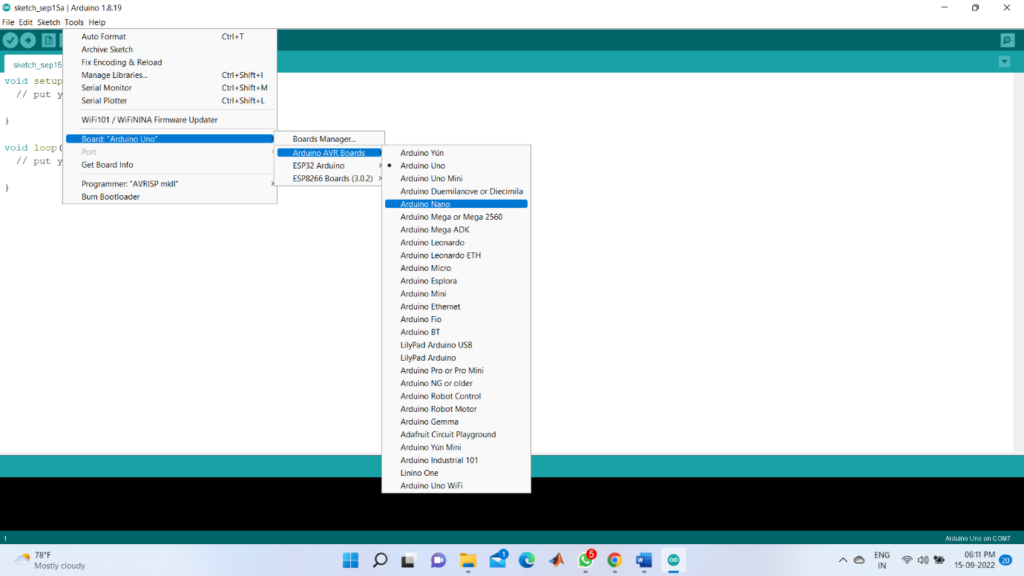
STEP2: To select the board go to > Tools > board > Arduino AVR board > Arduino nano
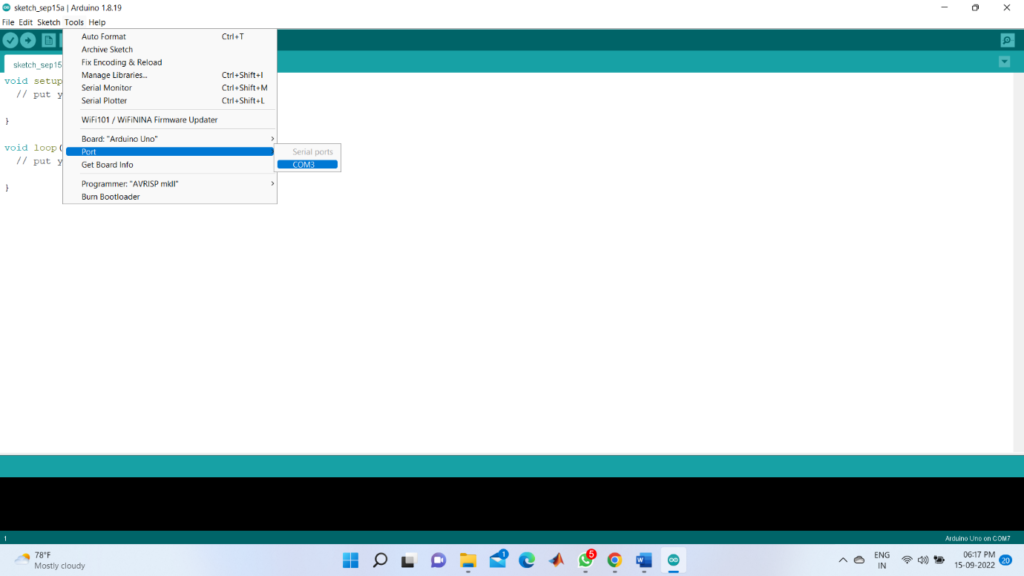
STEP3: As you connect Arduino nano to the laptop, the port will get activated and then you can select the port
To select the port go to >Tools >port
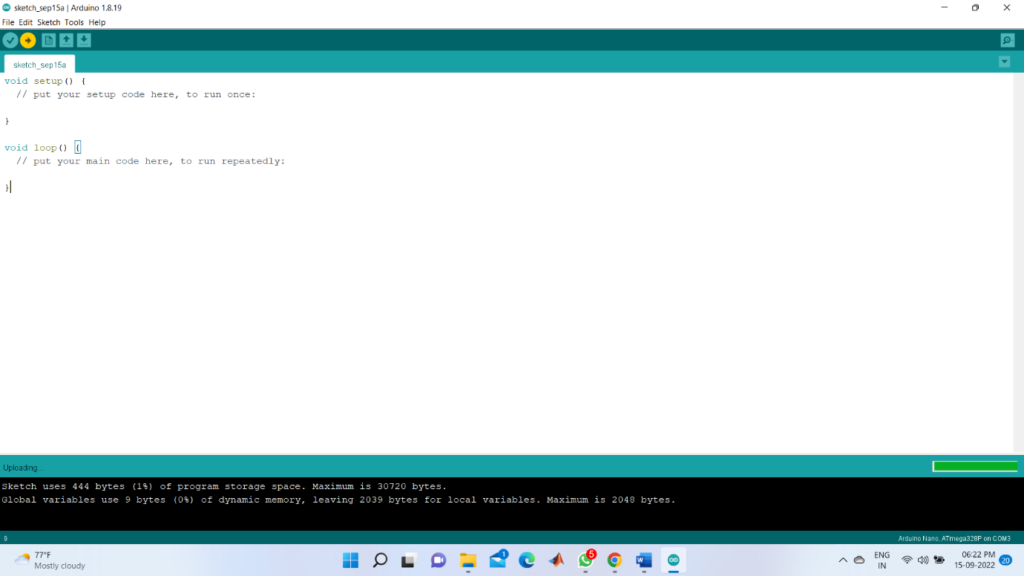
STEP4: After selecting the correct board and port from Arduino IDE, upload the empty code into the microcontroller
To upload the code click to the arrow symbol which is at top left side of Arduino IDE.
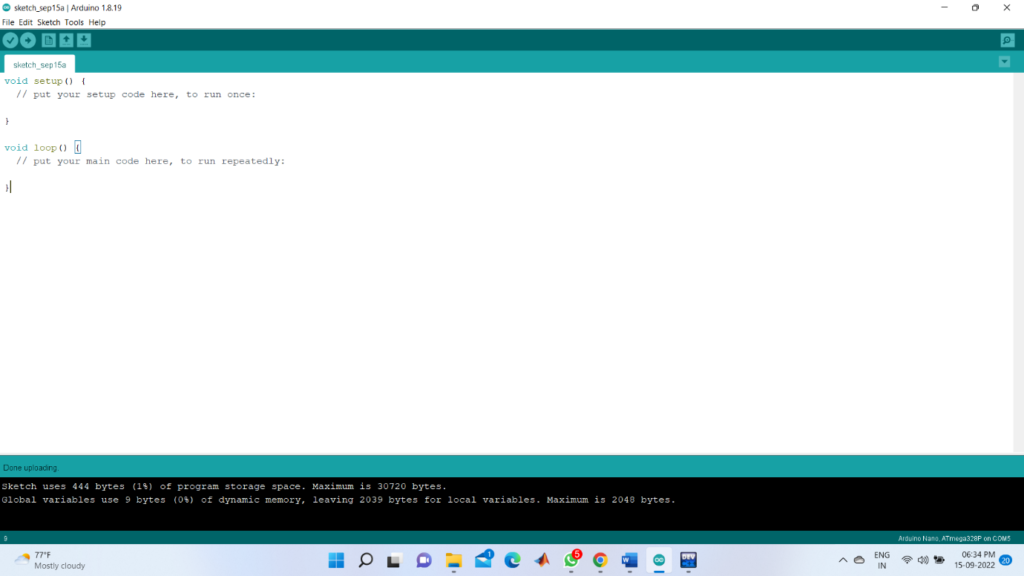
STEP5: Then it will start uploading
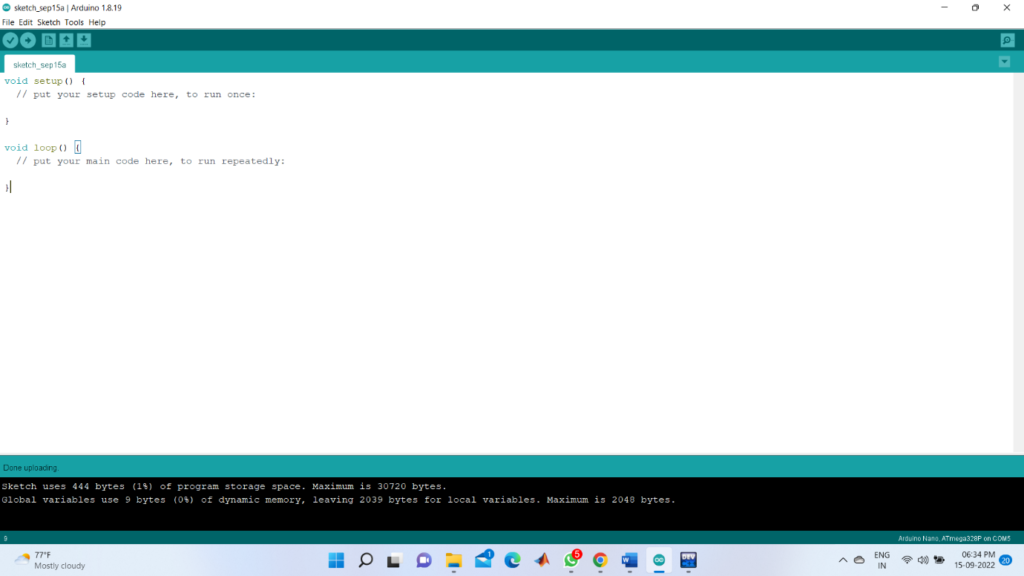
STEP6: As it is getting started with loading. After completing the loading part click Next to continue Then the code gets uploaded. This means the microcontroller (Arduino nano) is working fine. Same process you need to follow just be careful while selecting board and port
STEP7: If you are not able to upload a code then verify whether the board and port you have selected are correct or not, if it is correct and still not able to upload it then the problem is in the microcontroller
STEP8: Now the screen appears where one can start to write the code
